Let’s be honest—if losing weight were as easy as drinking more water or eating less sugar, the whole world would have done it by now.
You’ve probably tried cutting carbs, skipping meals, or jumping on that “quick fat loss” trend your friend swears by. Maybe you’ve downloaded the app, counted the macros, and swore this time would be different—only to end up feeling frustrated when the results didn’t match the effort.
As Registered Dietitians who specialize in nutrition coaching for fat loss, we hear this all the time. The truth? Lasting weight loss doesn’t come from extremes—it comes from consistency. And consistency is built on simplicity.
So today, we’re getting back to basics.
Here are the simple, evidence-based things you can do every day to support fat loss—no detoxes, gimmicks, or all-or-nothing rules required.
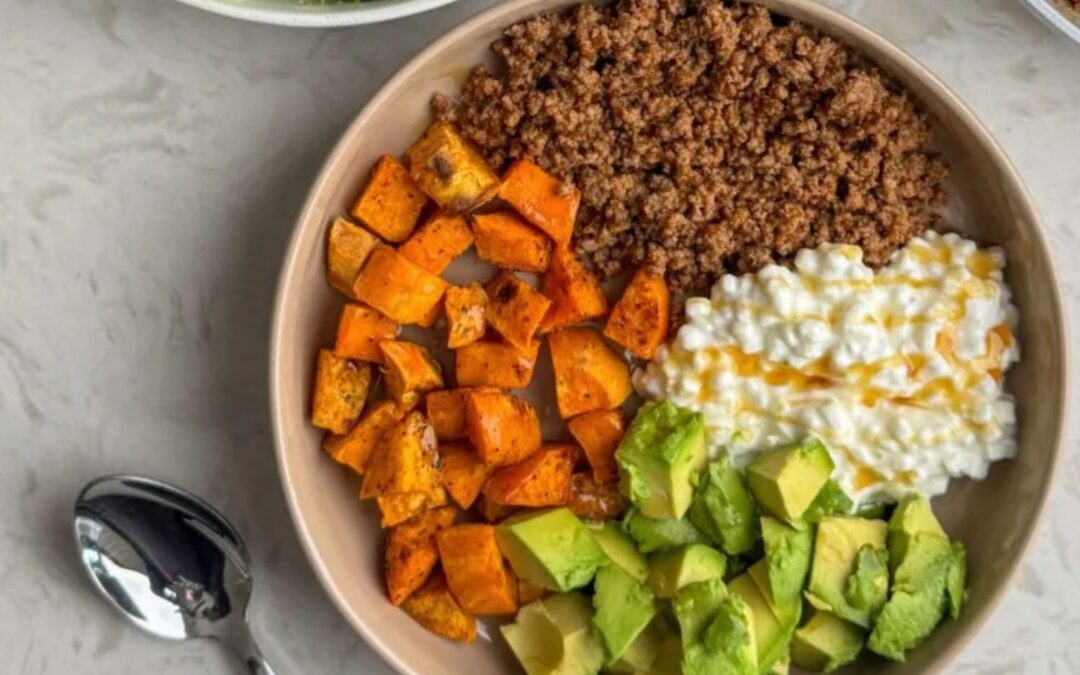
1. Build Meals Around Protein and Fibre
Here’s why this combo matters: protein helps preserve muscle mass (which keeps your metabolism humming), and fibre helps you feel full and satisfied.
Together, they’re like the Batman and Robin of nutrition for fat loss.
What this looks like:
-
Breakfast: Greek yogurt with berries and chia seeds
-
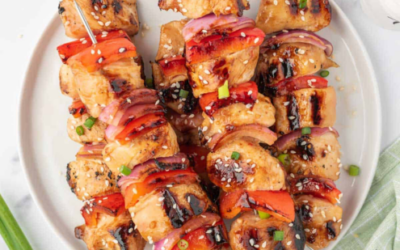
Lunch: Chicken wrap with whole-grain tortilla and a big handful of spinach
-
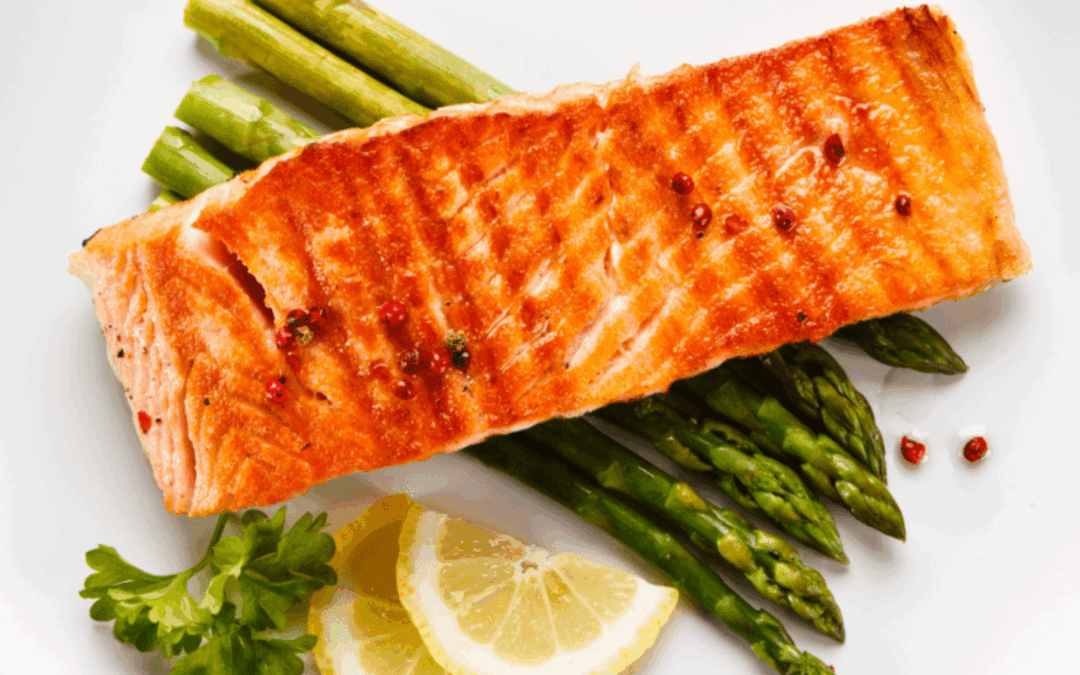
Dinner: Salmon, roasted carrots, and quinoa
-
Snack: Hummus with bell peppers, or a boiled egg and an apple
You don’t need to weigh every gram or log every bite—just ask yourself: “Where’s the protein? Where’s the fibre?” and you’re on the right track.
2. Stop Eating Meals in ‘Scroll Mode’
We get it—life is busy. But eating while distracted (scrolling your phone, answering emails, watching TV) can disconnect you from your hunger cues. That’s when it becomes way too easy to overeat without even realizing it.
Here’s what one of our nutrition coaching clients shared recently:
“When I started eating lunch without my phone, I noticed I was full earlier. I didn’t even want to finish the whole portion.”
Simple, right? But powerful.
Try this: Set a 10-minute timer. Sit down without screens. Chew slowly. Notice how your body feels. You don’t need to “perfect” mindful eating—you just need to practice it more often than not.
3. Drink Water Before Coffee
No, coffee isn’t the enemy. We love a good Americano as much as anyone.
But starting your day with water instead of caffeine supports hydration, digestion, and can help prevent the “is this hunger or thirst?” guessing game later.
Try this: Keep a glass or bottle of water by your bed. Drink it first thing in the morning. You’re already ahead of the game—and your digestion will thank you.
4. Go for a Walk After One Meal a Day
This tip supports blood sugar balance, digestion, and energy—all of which support your fat loss goals. Plus, it feels good.
We’re not talking about 10,000 steps or a new cardio routine. We’re talking 10–15 minutes of light movement after one meal.
It could be walking the dog, doing dishes while standing, or taking a stroll around the block.
Not only does this help with insulin sensitivity (which impacts fat storage), but it’s a powerful mental reset too—especially if you tend to crave sweets or snacks right after eating.
5. Keep It Boring… Until It’s Not
We love food variety. But when you’re trying to lose weight, decision fatigue can derail your momentum fast.
One of the most underrated tools in your toolbox? Meal repetition.
Eating the same or similar meals for breakfast and lunch throughout the week gives your brain a break. It also helps you stay consistent, reduces the temptation to “grab something quick,” and makes grocery shopping easier.
Save the creativity for dinner or the weekend. Consistency > novelty.
6. Create a “Default Snack” That Supports Your Goals
Snacks aren’t bad. But when every snack is a mystery—chips one day, cookies the next—it’s easy to overshoot your needs.
Instead, build yourself a default snack that’s:
Examples:
-
A cheese stick with an apple
-
Cottage cheese with berries
-
Hard-boiled eggs and a handful of almonds
-
A protein bar that doesn’t taste like cardboard (yes, we have faves!)
When you’re not sure what to eat, go with the default. It keeps you out of the pantry spiral and supports your goals.
7. Sleep Like It’s Your Job
This one’s not sexy, but it’s arguably one of the most important things you can do to lose weight and keep it off.
When you’re sleep-deprived, two things happen:
Translation? You’re hungrier and less satisfied. And probably craving carbs.
Aim for 7–9 hours. Create a calming nighttime routine (no scrolling in bed). And remind yourself that nutrition for fat loss doesn’t work if your body’s running on empty.
8. Think Addition, Not Subtraction
Most people approach weight loss like a math problem:
What can I cut?
But restriction leads to rebellion. You can only white-knuckle your way through a bland diet for so long before your brain begs for a binge.
Instead, flip the script.
Ask: “What can I add?”
-
Add a handful of vegetables to your lunch
-
Add protein to your breakfast
-
Add one more glass of water during your day
-
Add 10 minutes of fresh air
Adding keeps you focused on growth. Subtracting keeps you stuck in scarcity. And your results reflect that mindset.
9. Let Go of ‘Perfect Days’
Spoiler alert: You don’t need to eat perfectly to lose weight.
You just need to eat well enough, often enough—and stay in the game long enough to see the results.
We tell all of our nutrition coaching clients this:
One off day doesn’t ruin your progress. But all-or-nothing thinking might.
Success isn’t about flawless meals. It’s about building a rhythm that’s flexible, sustainable, and forgiving.
So yes, eat the burger. Enjoy the birthday cake. Take the vacation. Just return to your habits, without shame, when it’s over.
10. Get Support That Doesn’t Judge You
Trying to navigate fat loss alone can be overwhelming. Especially when the internet is shouting a thousand conflicting messages.
What you need isn’t more rules.
You need a plan that fits your life. You need someone who will help you adjust that plan without guilt when things get busy, messy, or real.
That’s where Registered Dietitians come in.
At Leverage Nutrition, our nutrition coaching isn’t about perfection—it’s about partnership. We help you build sustainable habits that support fat loss, without sacrificing the foods you love or the life you enjoy.
Final Thoughts: Simplicity Wins
You don’t need a 30-day cleanse. You don’t need a complete kitchen overhaul. You don’t need to cut out your favorite foods.
You just need small, simple habits that move you closer to your goals—day by day, choice by choice.
If you’re tired of starting over, frustrated with fad diets, or ready for a real plan that works for your real life, we’re here to help.
Ready to take the next step?
Let’s chat about how we can help support you through personalized nutrition for fat loss that finally sticks. Book a free call and let’s chat about how we can make your goals a reality—one simple habit at a time.


")