Alcohol, Sugar, and Fat Loss: How to Enjoy Drinks Without Ruining Progress

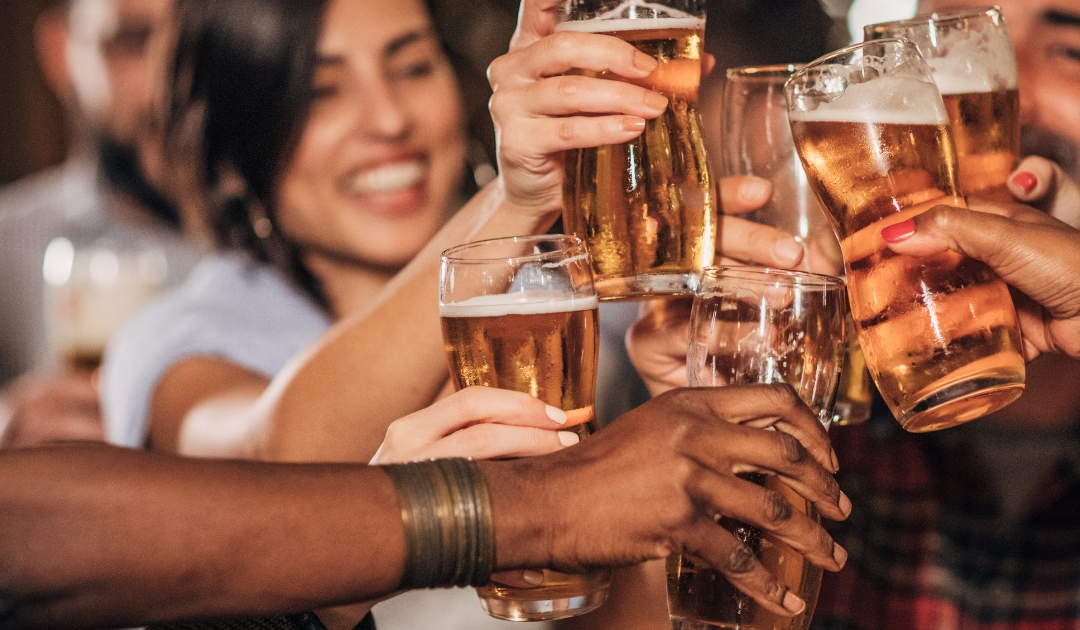
For many people working toward fat loss, alcohol feels like the one thing that “undoes everything.” A few drinks over the weekend and suddenly the scale jumps, motivation drops, and frustration sets in. This often leads to an all-or-nothing mindset where alcohol is either completely cut out or blamed for every lack of progress.
The reality is far more balanced. Alcohol and sugar do affect fat loss, but they do not automatically ruin progress. Understanding how they fit into the bigger picture allows you to enjoy drinks socially without feeling like you are starting over every Monday.
How Alcohol Actually Affects Fat Loss
Alcohol does not directly turn into body fat, but it does influence fat loss in a few important ways.
First, alcohol provides calories with very little nutritional value. At seven calories per gram, it is almost as calorie-dense as fat. Drinks can add up quickly, especially when mixed with sugary beverages.
Second, when alcohol is consumed, the body prioritizes metabolizing it. This temporarily slows fat oxidation, meaning fat burning is paused while alcohol is processed. This does not cause fat gain on its own, but it can affect overall progress if intake is frequent or excessive.
Third, alcohol can indirectly increase calorie intake by lowering inhibitions and increasing appetite. Many people notice they snack more or choose higher-calorie foods after drinking.
A common example we hear from clients is this: the drinks themselves are not excessive, but the late-night pizza or next-day takeout becomes the real issue. Alcohol often changes food decisions more than it changes metabolism.
Where Sugar Fits In
Sugar often gets blamed alongside alcohol, especially in cocktails. While sugar does contribute calories, it is not uniquely fattening. Fat loss still comes down to total calorie intake over time.
The challenge with sugar is how easy it is to consume large amounts without feeling full. Sweetened drinks, syrups, and juices add calories quickly but do little to manage hunger. When sugar is paired with alcohol, calorie intake can rise fast without much awareness.
This does not mean sugar must be eliminated. It simply means being intentional with choices, especially when drinks are part of the plan.
Why Weight Often Jumps After Drinking
Many people step on the scale after a night out and feel discouraged. The increase is often blamed on fat gain, but that is rarely the case.
Alcohol can:
-
Disrupt sleep quality
-
Increase water retention
-
Increase sodium intake from food choices
Poor sleep and higher sodium can lead to temporary water retention. This weight gain is not fat and usually resolves within a few days once hydration, sleep, and routine normalize.
Understanding this prevents unnecessary restriction or guilt-driven dieting after social events.
How to Enjoy Drinks Without Ruining Fat Loss Progress
1. Be Aware of Frequency, Not Perfection
Fat loss is influenced by what happens most of the time, not occasionally. A few drinks once in a while will not derail progress. Regular heavy drinking can.
For many people, setting a rough weekly limit feels more realistic than aiming for total elimination.
2. Choose Drinks That Are Easier to Manage
Some drinks naturally contain fewer calories and less sugar. Examples include:
-
Spirits with soda water and citrus
-
Wine in moderate amounts
-
Light beer
Cocktails made with syrups, juices, and cream-based mixers tend to be higher in calories. Choosing simpler drinks allows for enjoyment without excessive intake.
3. Eat Before Drinking
Having a balanced meal with protein and fibre before drinking helps stabilize appetite and reduces the likelihood of overeating later. People who drink on an empty stomach often feel the effects faster and snack more afterward.
One client shared that simply eating dinner before social drinks completely changed her weekends. She enjoyed her drinks and stopped ordering late-night food altogether.
4. Stay Hydrated
Alcohol is dehydrating, and thirst is often mistaken for hunger. Alternating alcoholic drinks with water helps with pacing, hydration, and next-day energy.
5. Avoid the “Write-Off” Mindset
One of the biggest mistakes is assuming that one night means the entire weekend is lost. This mindset often leads to overeating the next day and skipping movement.
Returning to normal habits as soon as possible keeps progress steady. One evening does not define the week.
Does Alcohol Need to Be Cut Out for Fat Loss?
For some people, temporarily reducing or eliminating alcohol can make fat loss easier, especially if progress has stalled. For others, moderate intake fits well within a balanced plan.
The key question is not whether alcohol is “allowed,” but whether it fits your goals, lifestyle, and ability to stay consistent.
Fat loss should be sustainable. A plan that requires complete social withdrawal rarely lasts.
The Big Picture
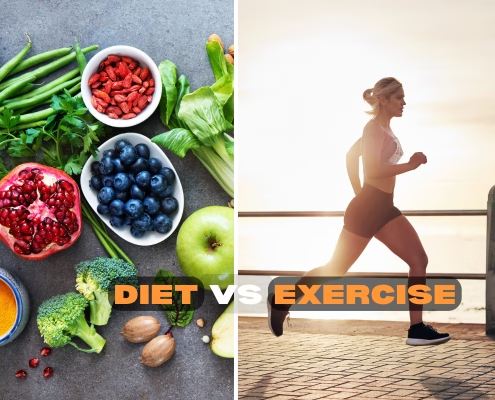
Alcohol and sugar are not the enemy of fat loss. Overconsumption, lack of awareness, and inconsistent habits are.
When drinks are enjoyed intentionally, balanced with food, and kept within reasonable limits, progress can continue smoothly. Fat loss is not about perfection. It is about patterns.
Understanding how alcohol and sugar affect the body allows you to make choices confidently, enjoy social moments, and stay aligned with long-term goals.


")